Very often, shin hanga prints we get from dealers or auctions are glued into paper folders or mounted on a backing. Most collectors prefer to remove the print from its support, for reasons of aesthetics, inspection, storage, and especially for conservation. One should usually assume that the print has been glued with or mounted to materials which are non-archival (acidic).
Brave collectors perform this removal "surgery" with a knife or a letter opener, at the risk of the print being damaged. The following step-by-step process illustrates how I safely remove a print from its support, by careful, controlled "shaving" the paper off with a round-shaped scalpel.
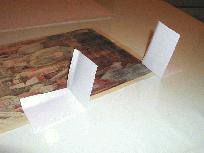
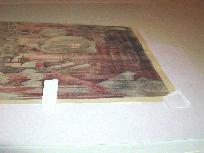
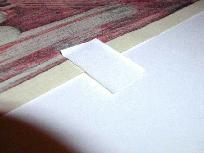
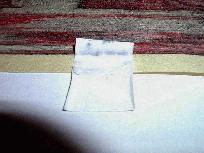
- First, all attached paper should be cut back with scissors as far as possible. Fold the paper upwards and cut from inside the print towards the outside, thus minimizing the risk of accidentally cutting the print.
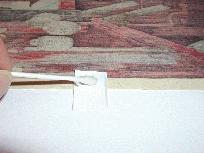
- Wet the remaining paper with water, and wait a few minutes. (I use normal tap water)
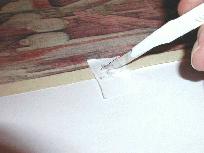
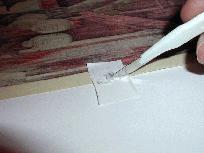
- Scratch the paper off with a scalpel, repeat the wetting if necessary. Move the scalpel from inside the print towards the outside, holding the print on the remaining small paper tongue.
- Remove remaining glue with a wet cotton swap.
- Dry the wet surface with a blotter.
Old paper hinges can be removed the same way. This method works well with water-soluble glues like rice paste, etc.
|
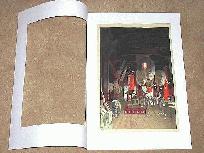
The patient: Print, glued into folder.
|
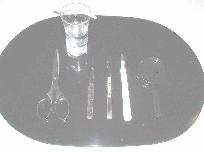
The instruments: Water, cotton swap, scissors, tweezers, scalpel (Dahle No. 10), magnifying glass |
|
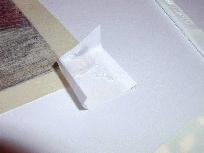
Cutting back the paper…
|
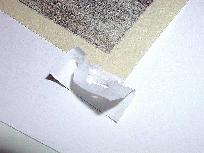
Smaller and smaller… |
|
Ready for the process (paper tongue)
|
Wetting with water |
|
Shaving off the paper
|
This won't hurt a bit… |
|
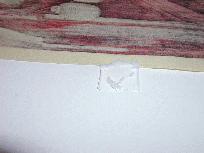
Step by step…, getting thin
|
Almost done… |
|
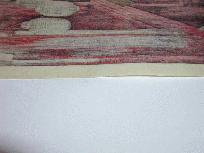
Finished
|
The corner: same procedure |
|
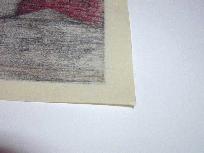
Carefully removed
|
Done, nothing remains |
Photographs and original text as written and submitted by Andreas Grund for this article are his property, copyright © March 2000, all rights reserved.
Your feedback is welcomed -- please send in your comments and suggestions.
| Return to top |
Editor's note: Another contributor reports using substantially similar methods, but using a different surgical instrument.
![]()
![]()
Yet another collector writes:
